You have a fan. You have a ceiling. You don’t have wiring there. But do you know how to install a ceiling fan no existing wiring all by yourself? Truly, installing a fan is an easy way to get some cool air without massive HVAC systems. Moreover, there are many fun ways to use a fan (but be careful and reasonable!). So, yes, it’s possible to install a fan with no existing wiring and we know how to do that. Read this article and you’ll learn whether DIY methods are your option or if it’s better to call a pro.
How to Install a Ceiling Fan Where No Wiring Exists
Since your fan needs electricity to work and your ceiling has none, you must start by solving this problem. Let’s start with creating an electrical path to the place where you plan to locate your fan. Its beginning is at the electrical panel, which means you need to create a proper wiring route. It might include cutting into walls and ceilings, and connecting switches. If you feel uncertain about doing this, you can always call Fuse Service for help. However, with the right tools and knowledge everything is possible!
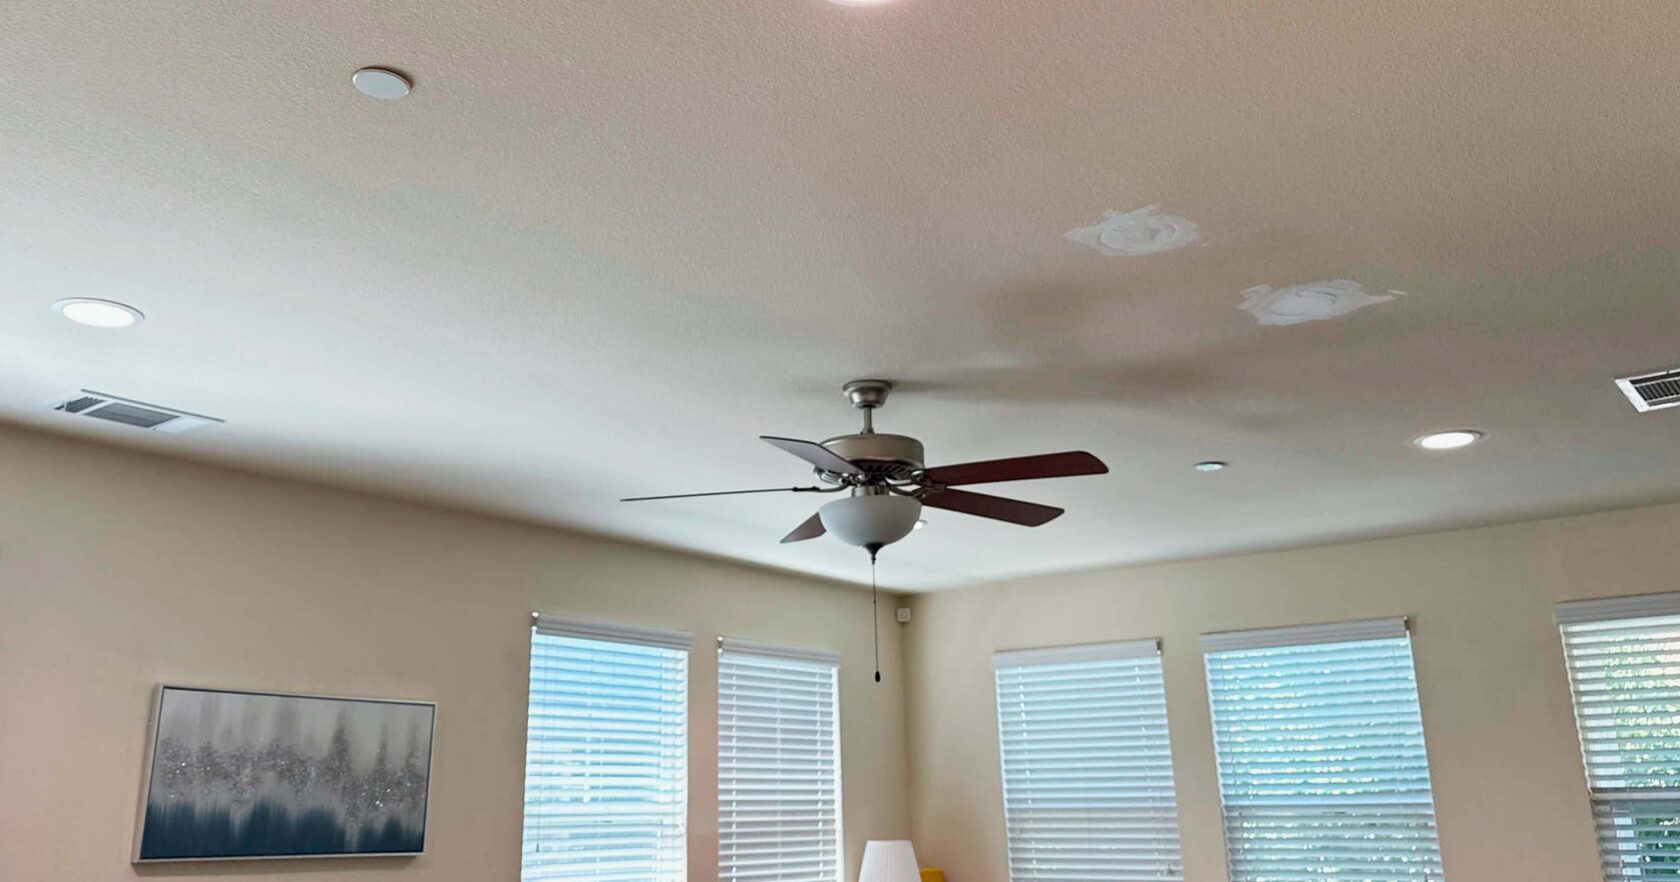
Determine the Ceiling Fan Location
Placing your fan is more than just choosing a room. You should know the exact location on the ceiling and the height it’ll hang down from the ceiling. If you don’t install a fan low enough in a room with a high ceiling, you won’t feel it working. At the same time, in rooms with a low ceiling it’s reasonable to make the fan as high as possible to save space. And don’t forget to make sure the joists above can support the fan’s weight.
Install the Electrical Box
You’ll need a fan-rated electrical box, not just a light fixture box. It’s designed to hold the extra weight and vibration of a ceiling fan. You need to attach one securely to the ceiling and ensure safety and stability.
Run Wiring to the Fan
The most dangerous and risky part in a way to install a ceiling fan no existing wiring starts with electrical connections and wiring. You need to switch off the electricity in the house if you’re planning to do it on your own. When you ensure that your cable meets local electrical codes, we recommend running it from the nearest outlet to the electrical box on the ceiling instead of starting directly at the breaker panel. Remember, working with wiring is a dangerous activity and should be performed by professionals! It’s always safer to call a professional for wiring projects.
Decide the Location of the Switch (or Switches)
Another part of wiring you need is a switch’s location. You might have one or more switches to control your fan, so it’s important to plan this at the beginning. Wireless remote kits are also an option if you want to avoid extra wiring.
Mark and Cut the Holes for the Electrical Box
Next, mark where the electrical box and switches will go. Use a stud finder to avoid hitting framing or pipes. Once marked, cut clean holes with a drywall saw. If you want to avoid unnecessary wall damage, make precise measurements.
Run Wires From the Power Supply
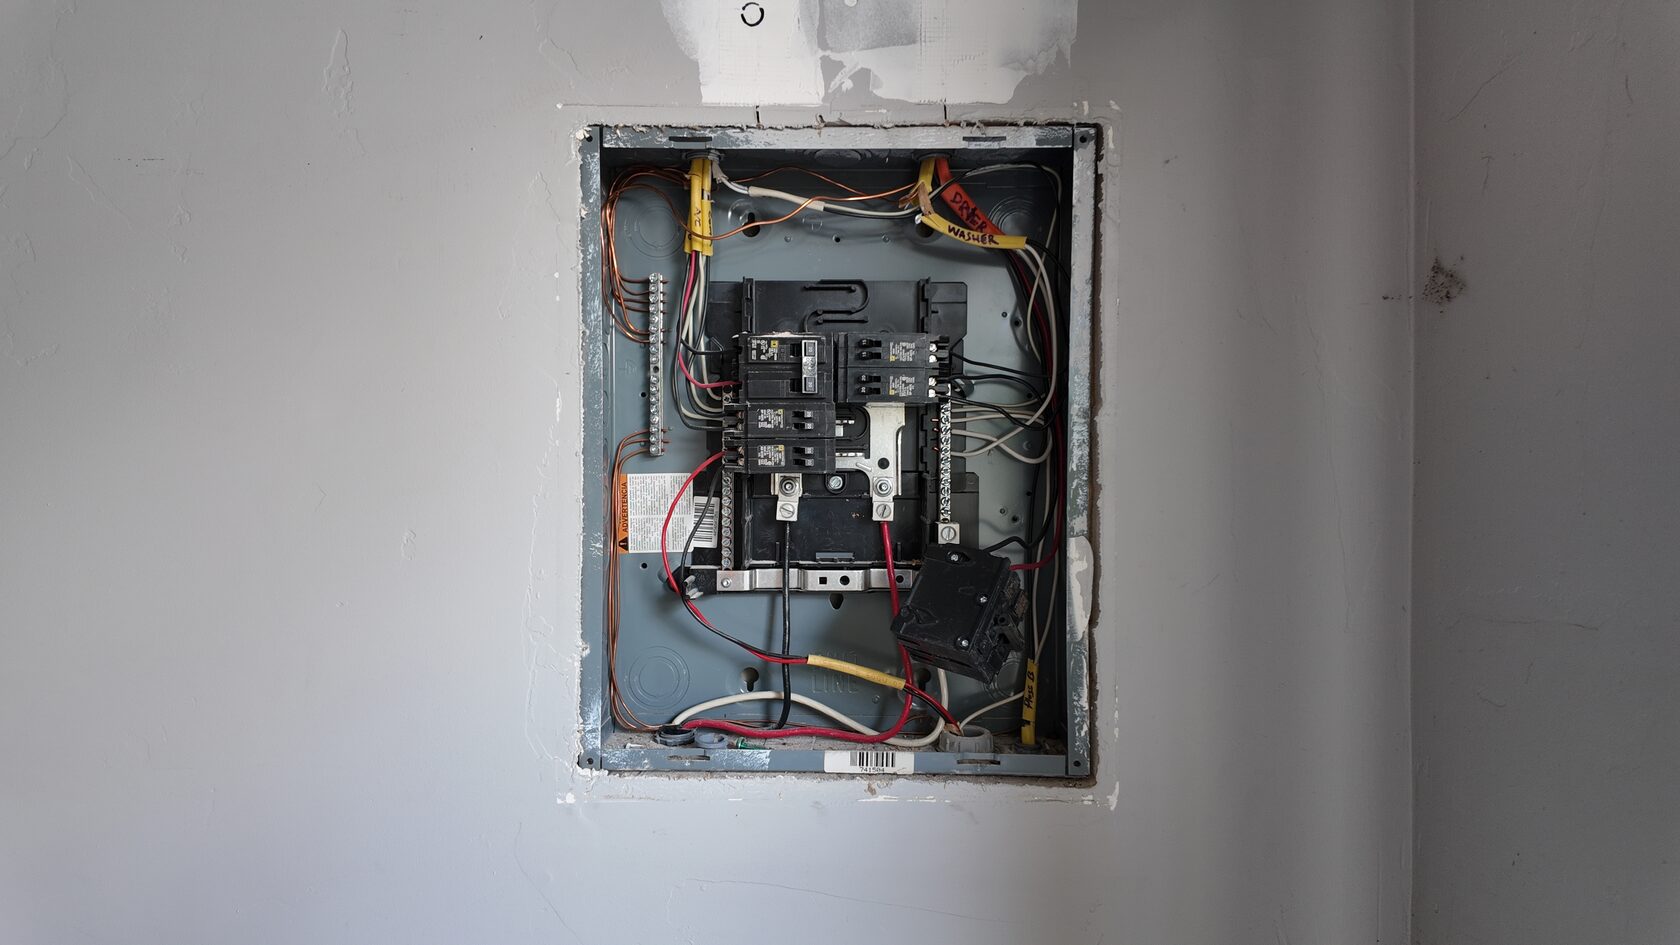
Shut off the circuit breaker before starting if you haven’t done it yet. Run the wires from the supply point to both the ceiling fan box and wall switch box, securing the wires with staples as required by code. If you have an old electrical panel, check our article about basics of FPE panels.
Install the Electrical Boxes
Now you’re ready to finish installing the wall and ceiling boxes. Secure them firmly to framing studs or ceiling joists.
Mount the Ceiling Fan
Use the manufacturer’s instructions to assemble and mount the fan. Connect the wires (black to black, white to white, and green or bare to ground) before securing the fan. Also double-check all connections before attaching the fan blades. We have some more wiring tips in our kitchen wiring code guide.
Attach the Switch Plate
Once your switch is wired and installed, add the switch plate cover. If you opted for dual switches, make sure each is clearly labeled for light and fan control.
Test the Ceiling Fan
After you confirm everything is done safely, switch on the power. If you’ve done everything correctly, your fan will run smoothly without issues. And if you want to do another DIY wiring project check our article on how to wire in a motion sensor light.
Cost to Install a Ceiling Fan No Existing Wiring
Of course, if you need to install a ceiling fan no existing wiring in your room, be ready to spend some money:
- DIY. You’ll pay only for materials, around $75–$200.
- Professional Installation. An electrician will take all necessary materials with them, so it’ll cost in total $300–$700 on average.
- Complex Jobs. If your fan needs extra work like installing multiple switches or running long wiring, the final price can be $800–$1,500.
If your home needs electrical upgrades, call Fuse Service. We will estimate your project, provide upfront pricing, and ensure safety after installation.
DIY vs. Hiring a Pro to Install a Ceiling Fan No Existing Wiring
We understand that installing a fan where no wiring exists is a pretty challenging task for a beginner. However, if you’re familiar with electrical procedures, a DIY method might be an option. On the other hand, for many homeowners, hiring a trusted home service professional is the safest and smartest choice to install a ceiling fan no existing wiring. And to schedule your future fan installation call us at (669) 666-9219 or email support@fuseservice.com! Also visit our Instagram, Facebook, YouTube and TikTok pages where we share useful tips and tricks for DIY electrical services.